ConsignO Cloud User Guide
Creating and using a template
Available with: Individual plan Business plan Enterprise plan
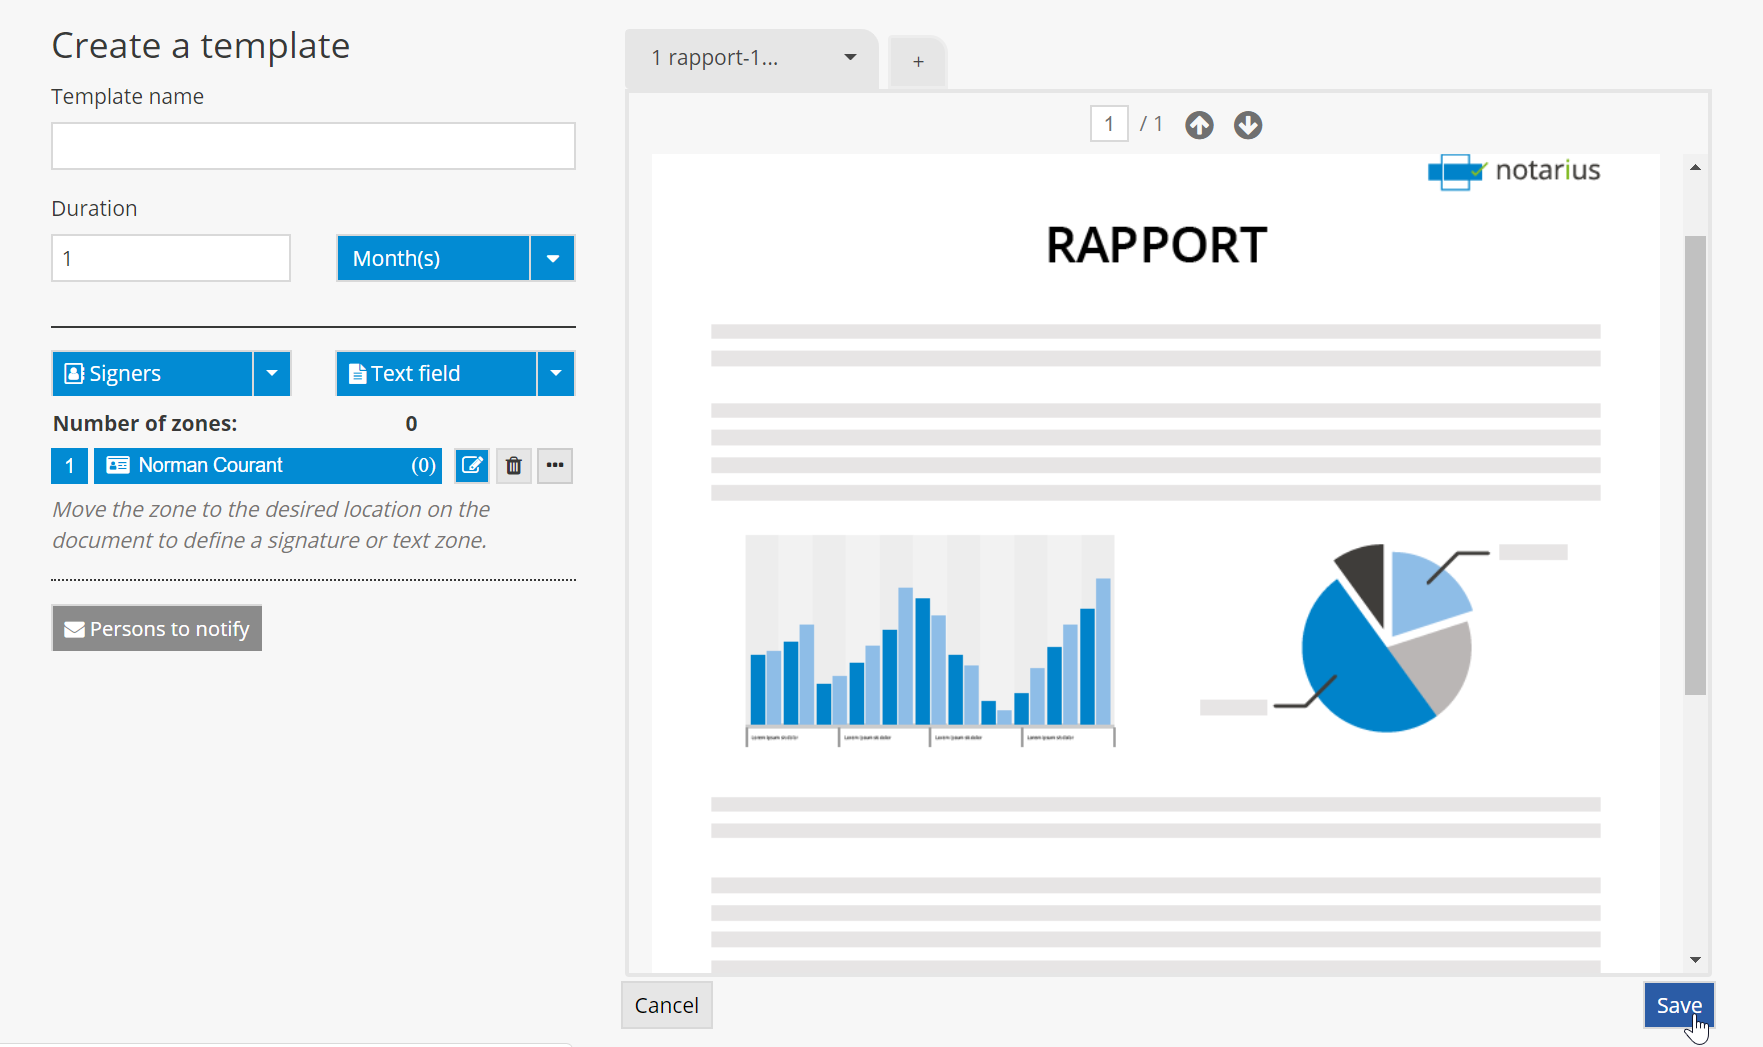
CREATING A TEMPLATE
1. From the dashboard, in the left-hand side bar menu, click on the template icon.

2. Click on New template.

3. Once you’ve configured the settings, click on Save. Here is an example of a project template with a defined signer and without a defined signature zone.

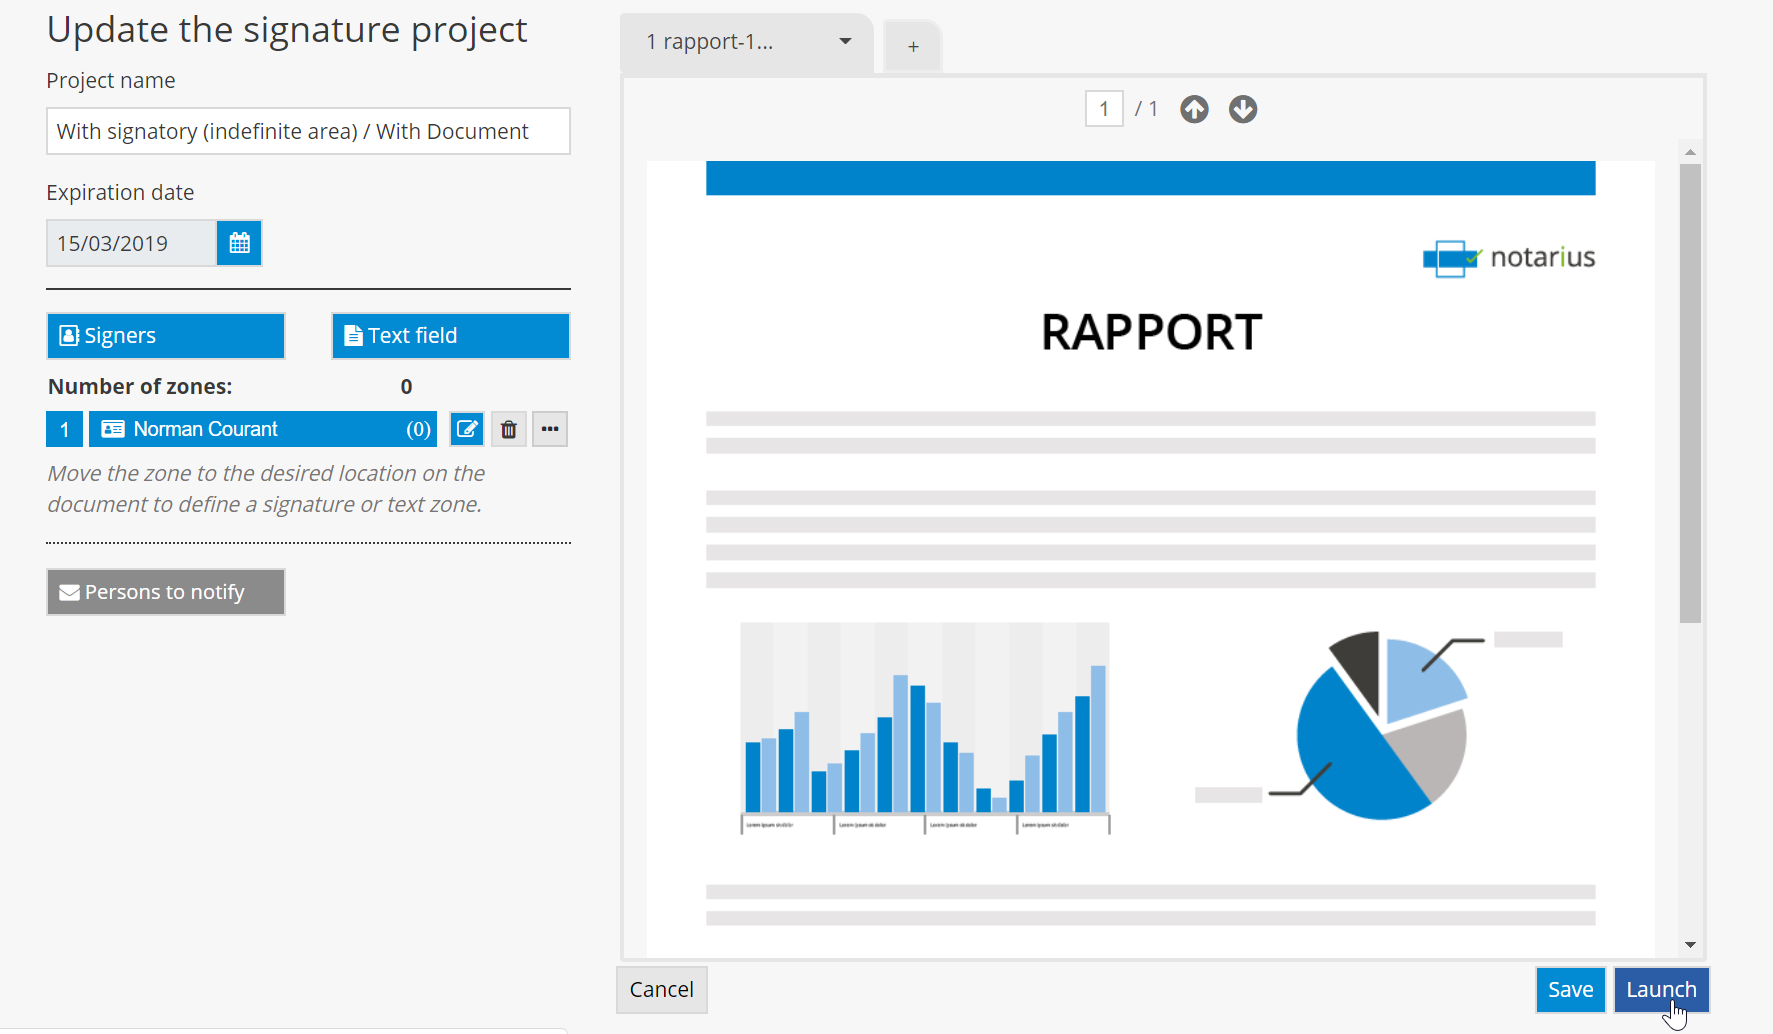
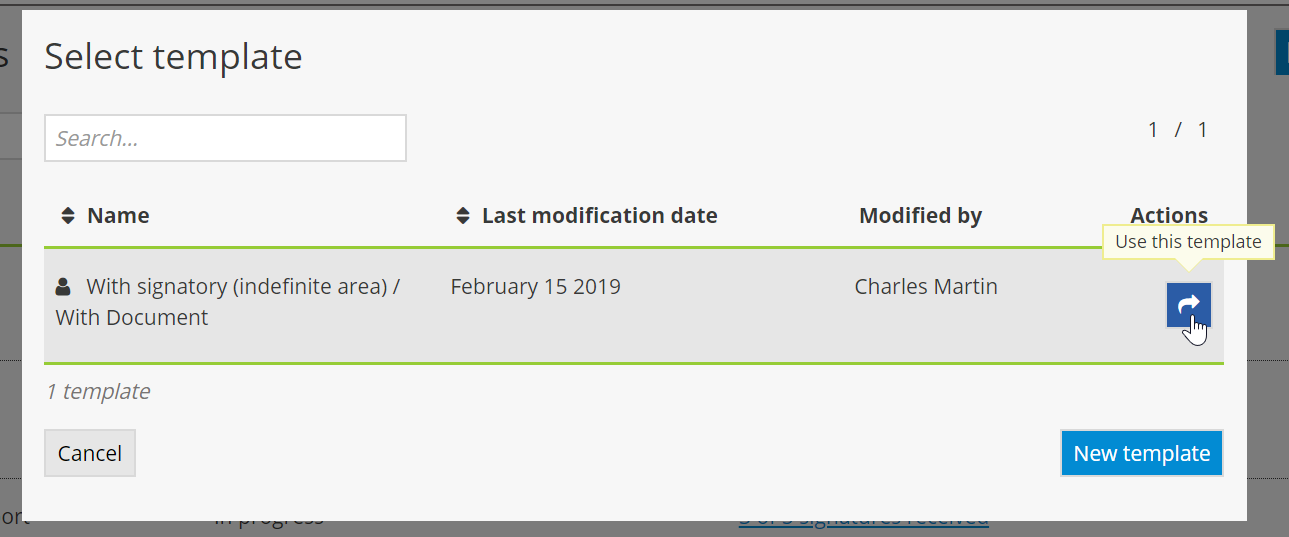
4. To use a saved project template, click on the “Use this template” icon.

5. Once you’ve entered your modifications (if necessary), launch the project by clicking on Launch.
6. You can also create a project using a template by going to the dashboard and clicking on the arrow to access the New Project dropdown menu.

TEMPLATE TYPES
1. A) Here is an example of a project template with a defined signer and without a defined signature zone.
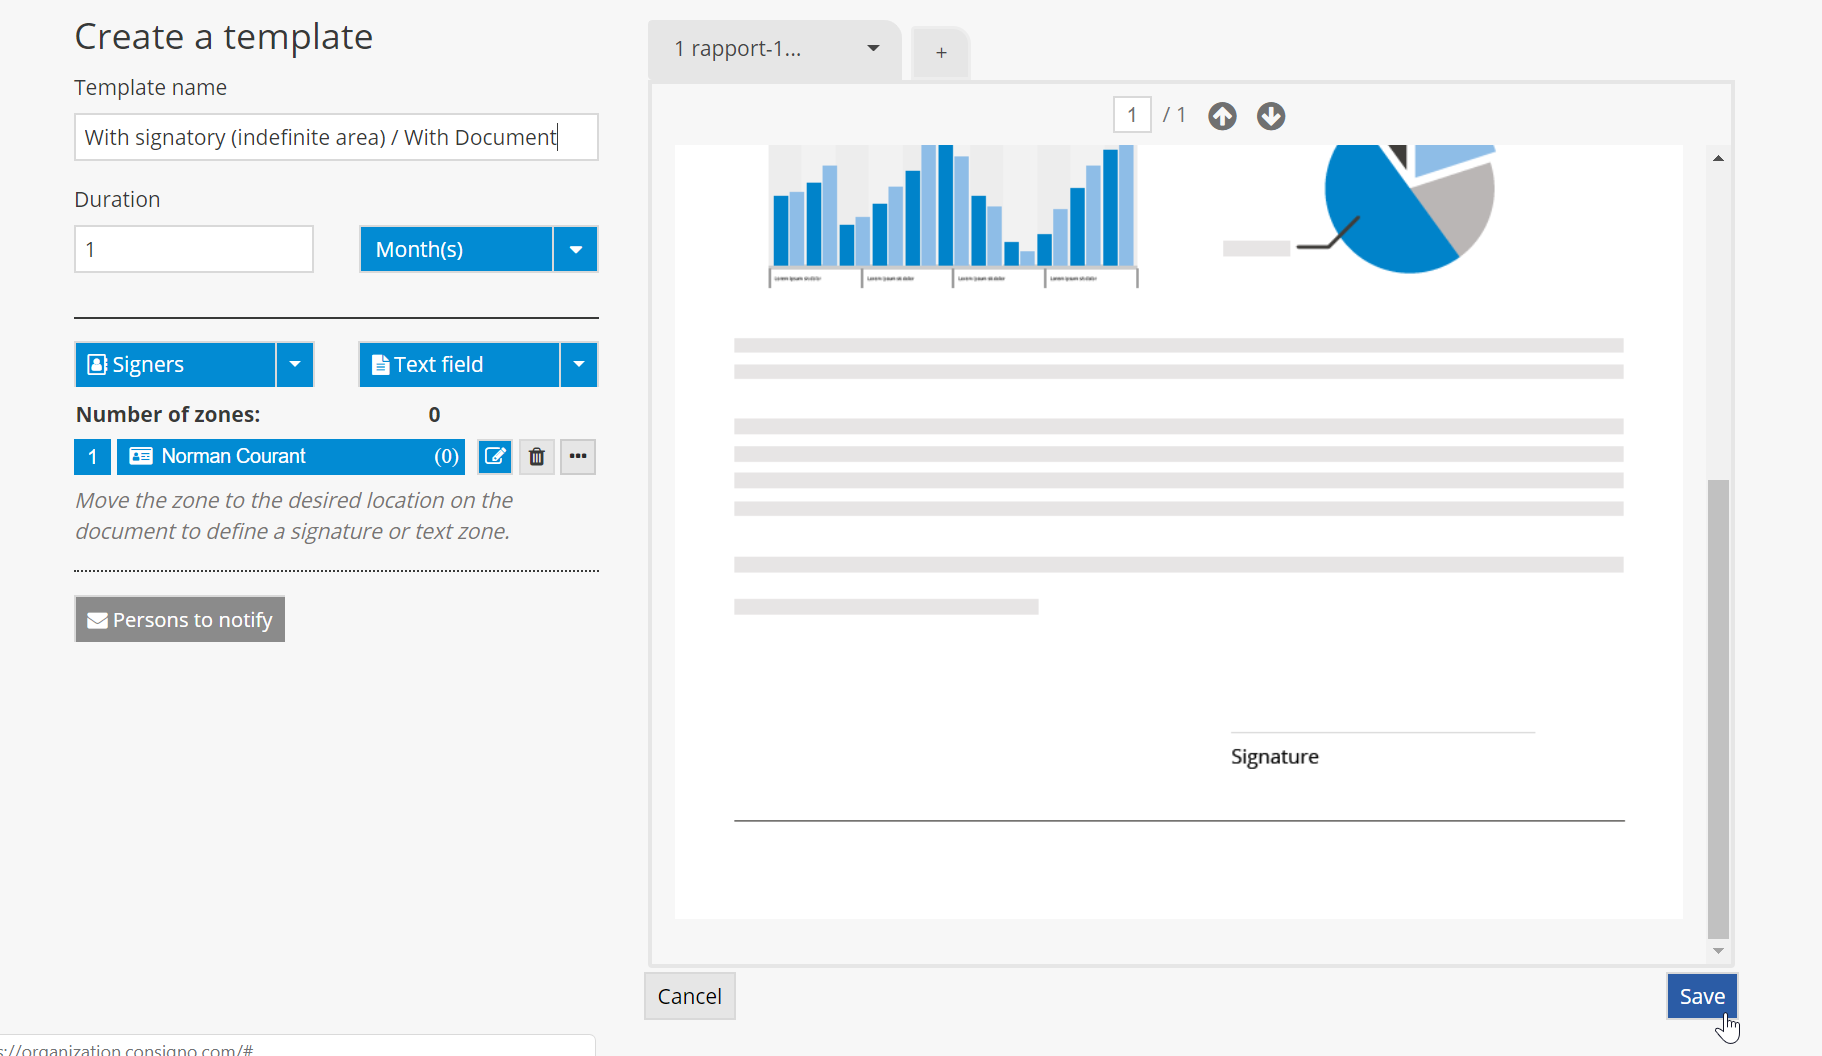
1. B) Here is an example of a project template where a signer and signature zone have been defined.
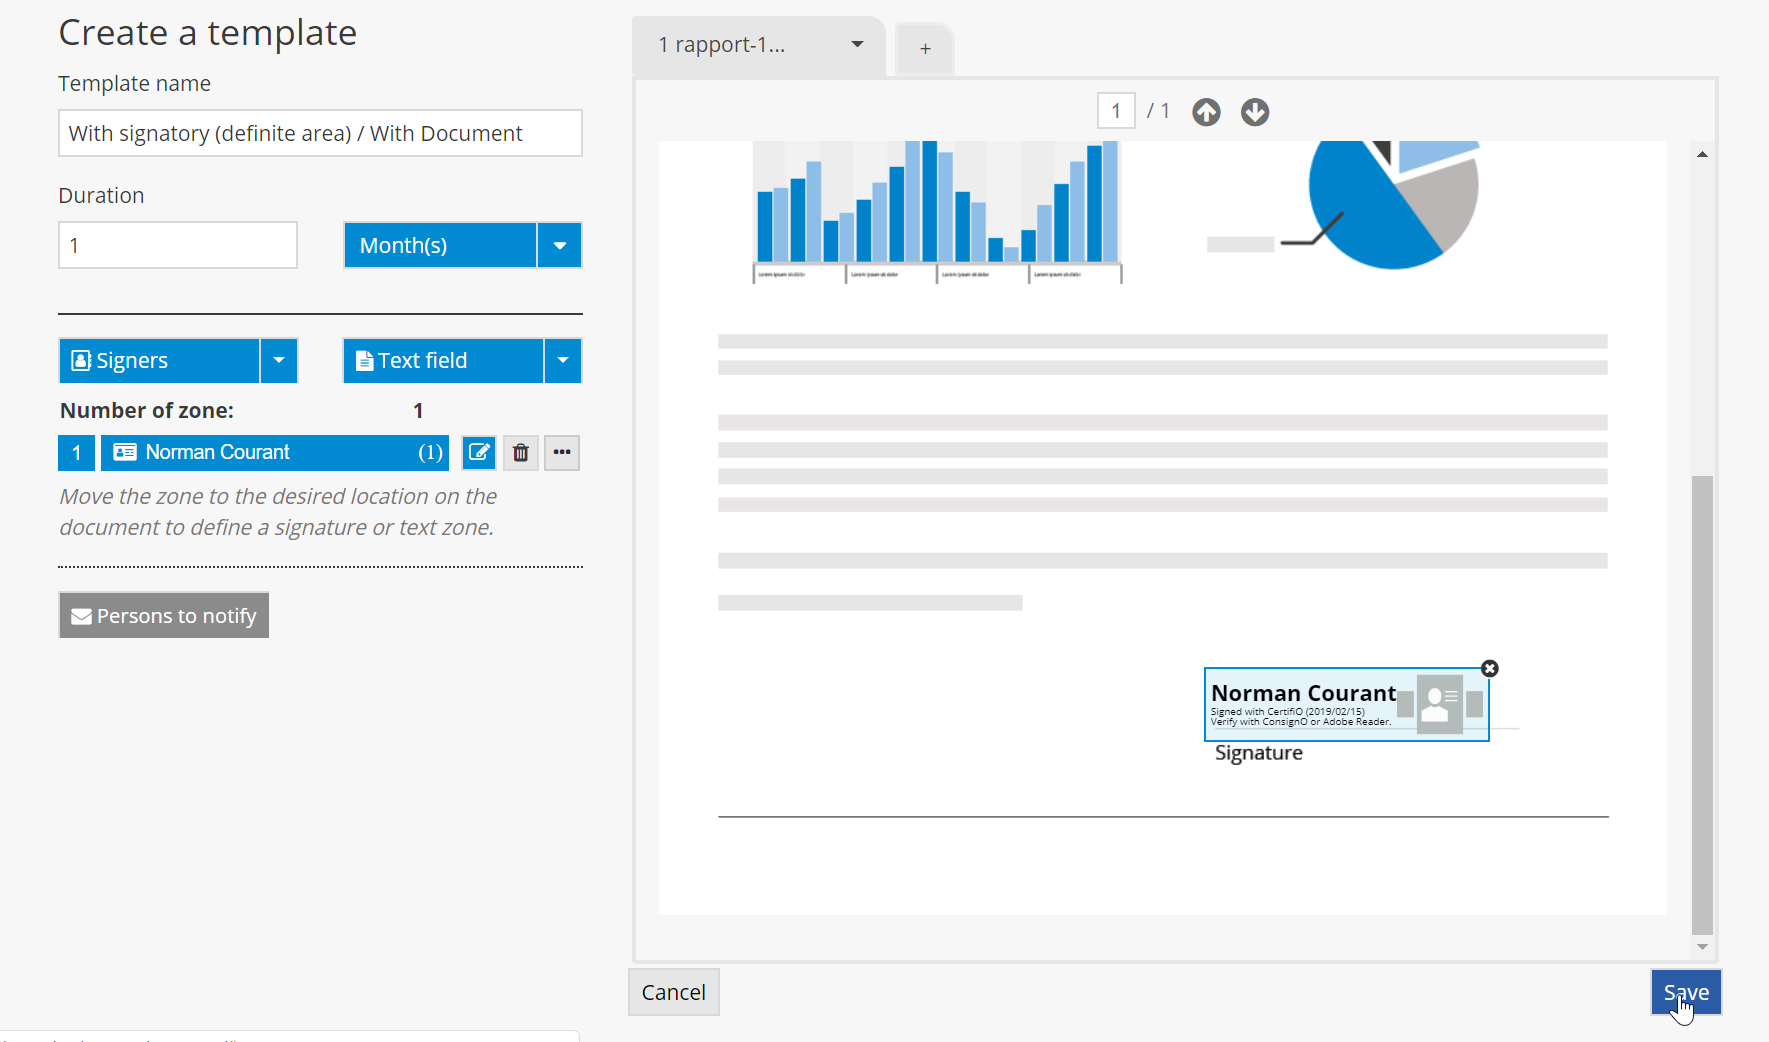
1. C) Here is an example of a project template where a signer has been defined.
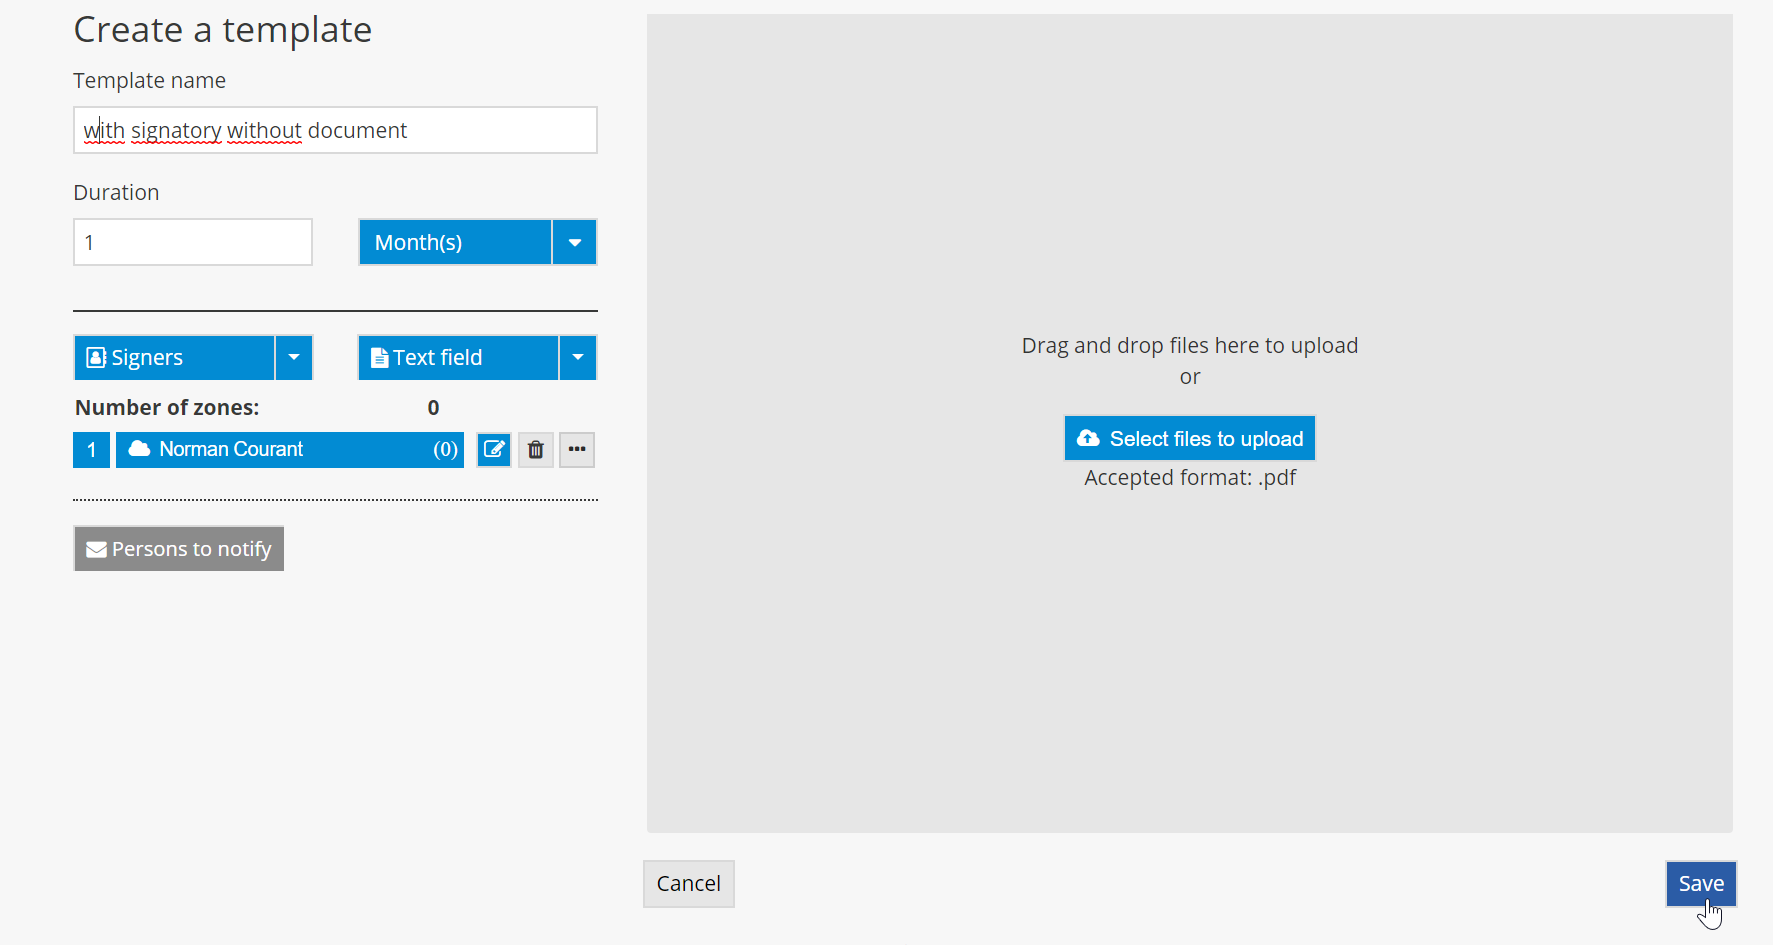
1. D) Here is an example of a project template with a document and without a defined signer.
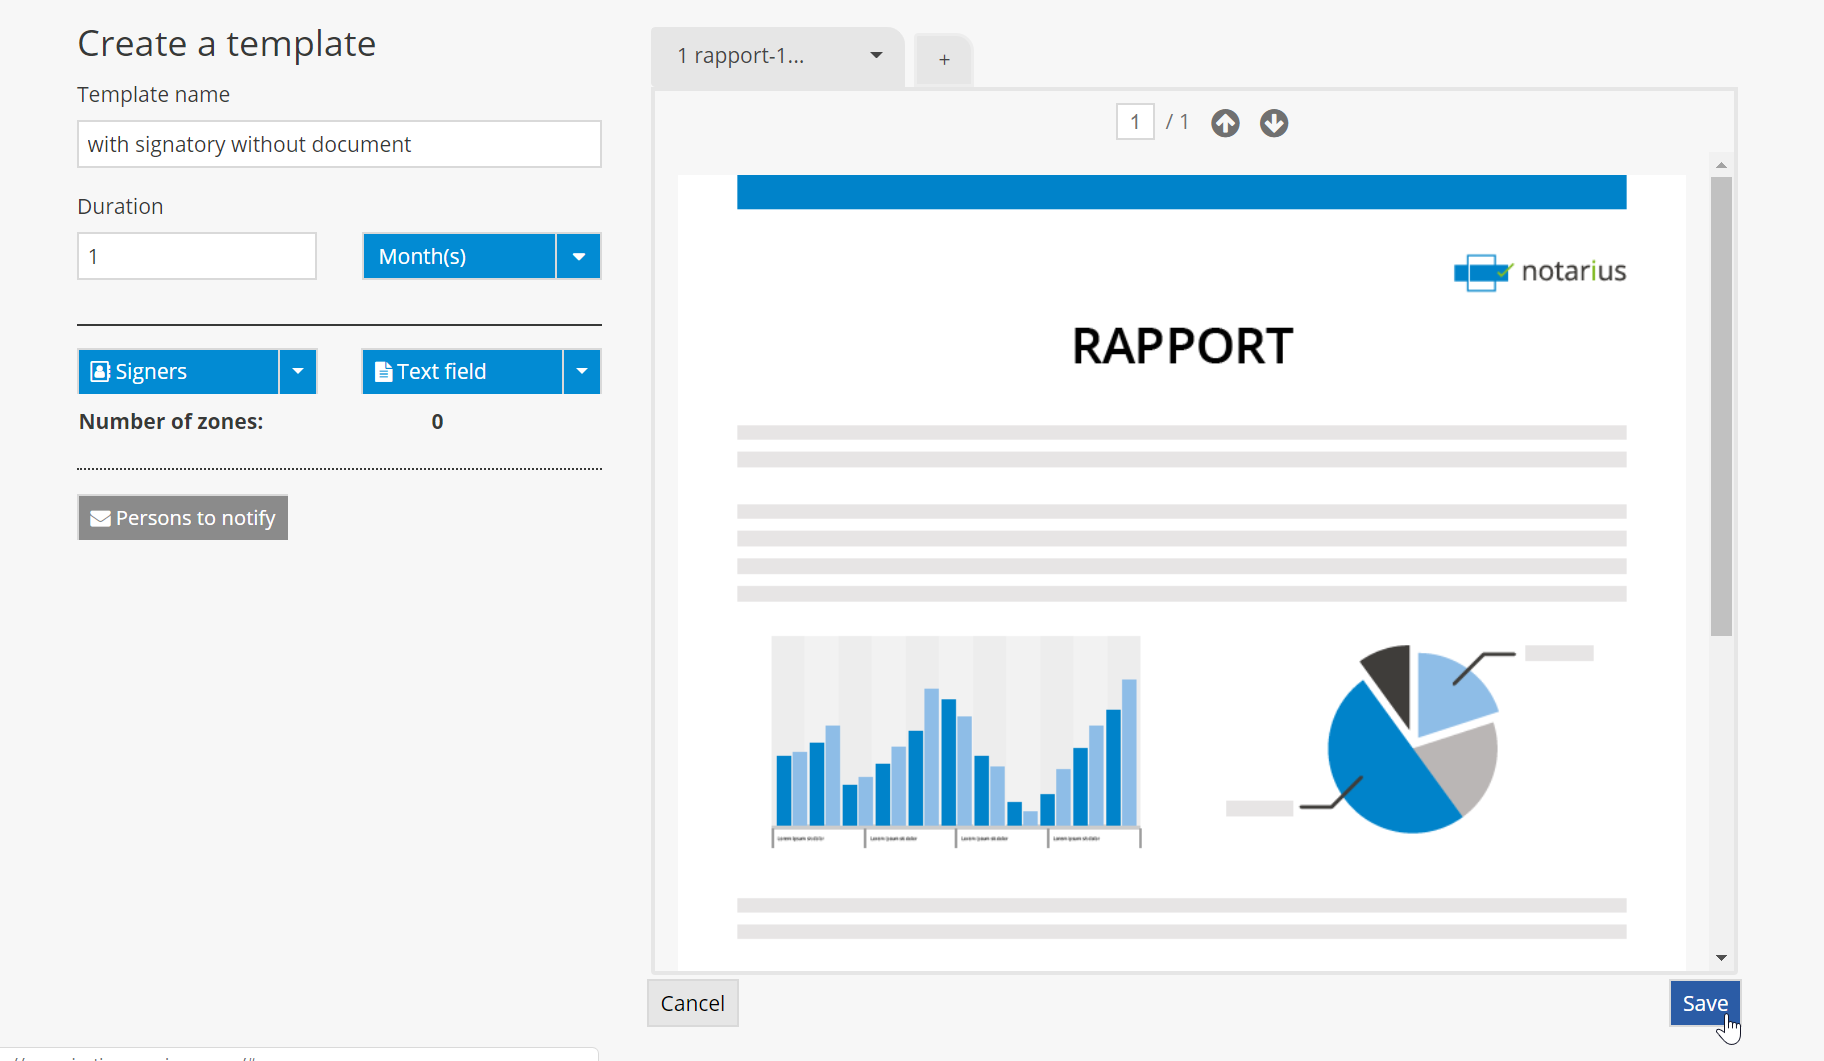
2. You can also create a template with an “undefined” signer. Here is an example of a project template with a document, a defined signer and an undefined signer. To add an undefined signer, click on the arrow to access the Signers dropdown menu.
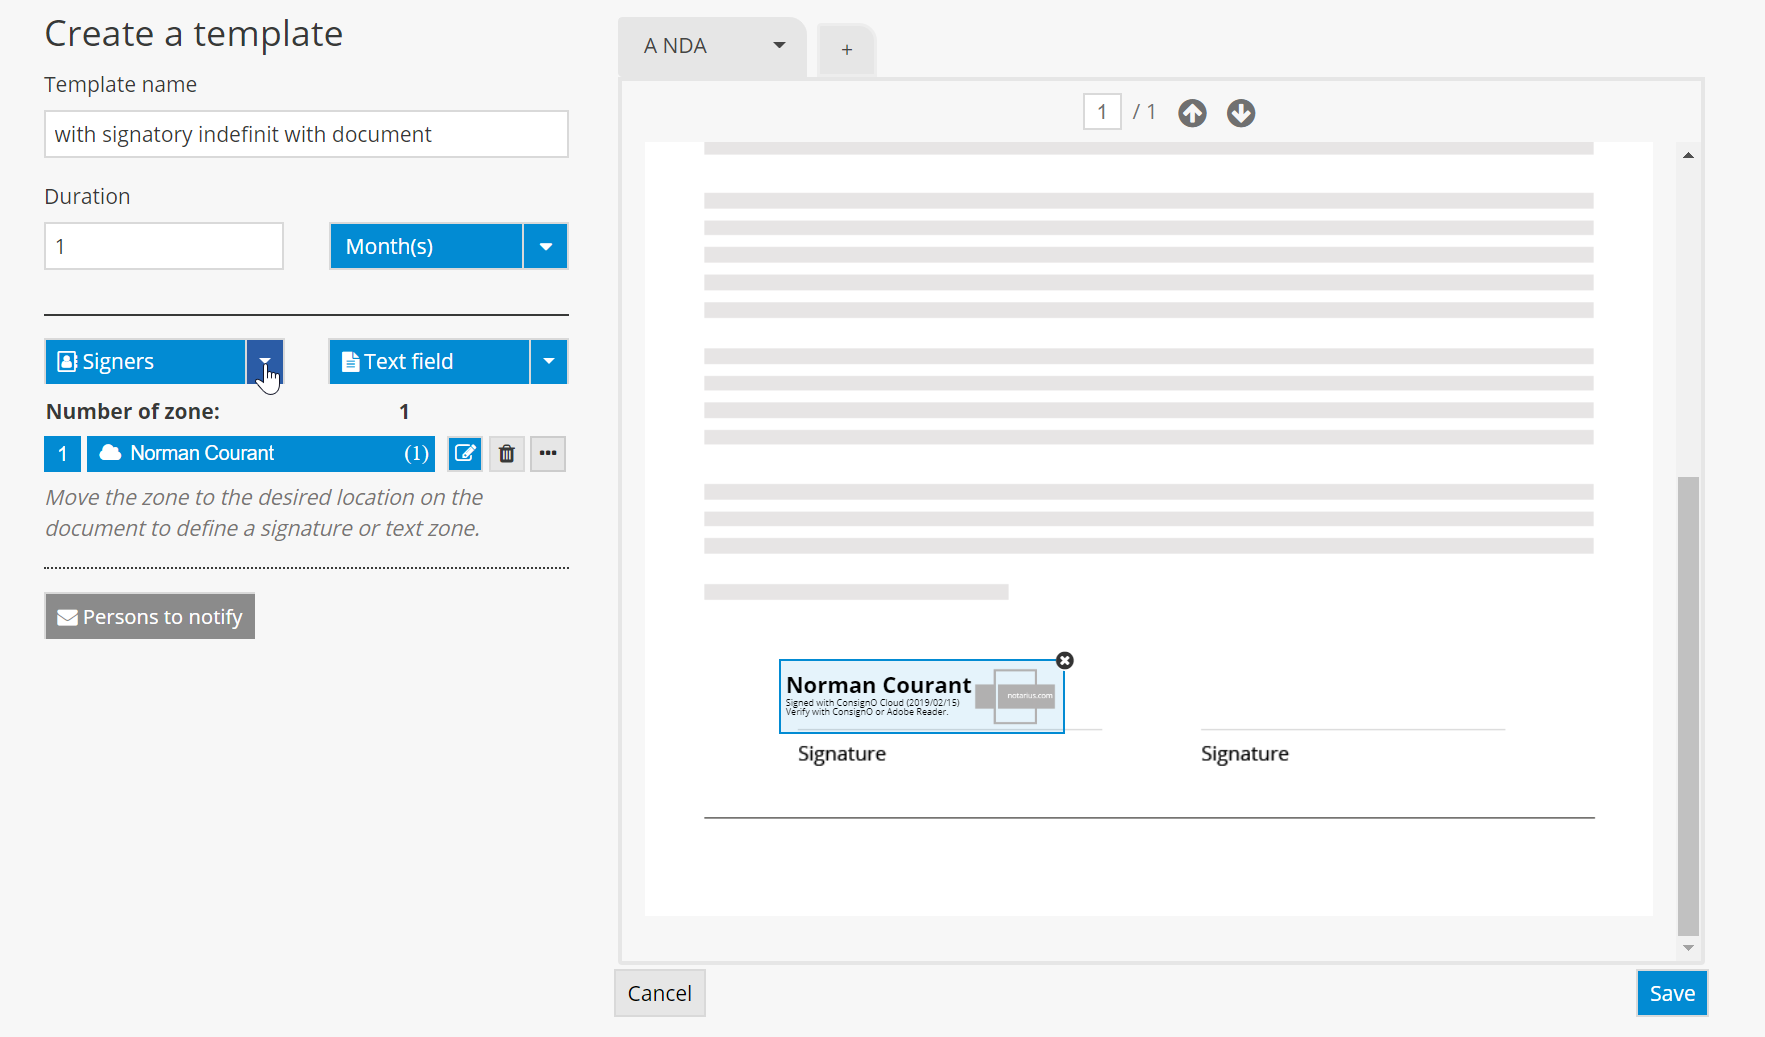
3. Select Undefined Signer.
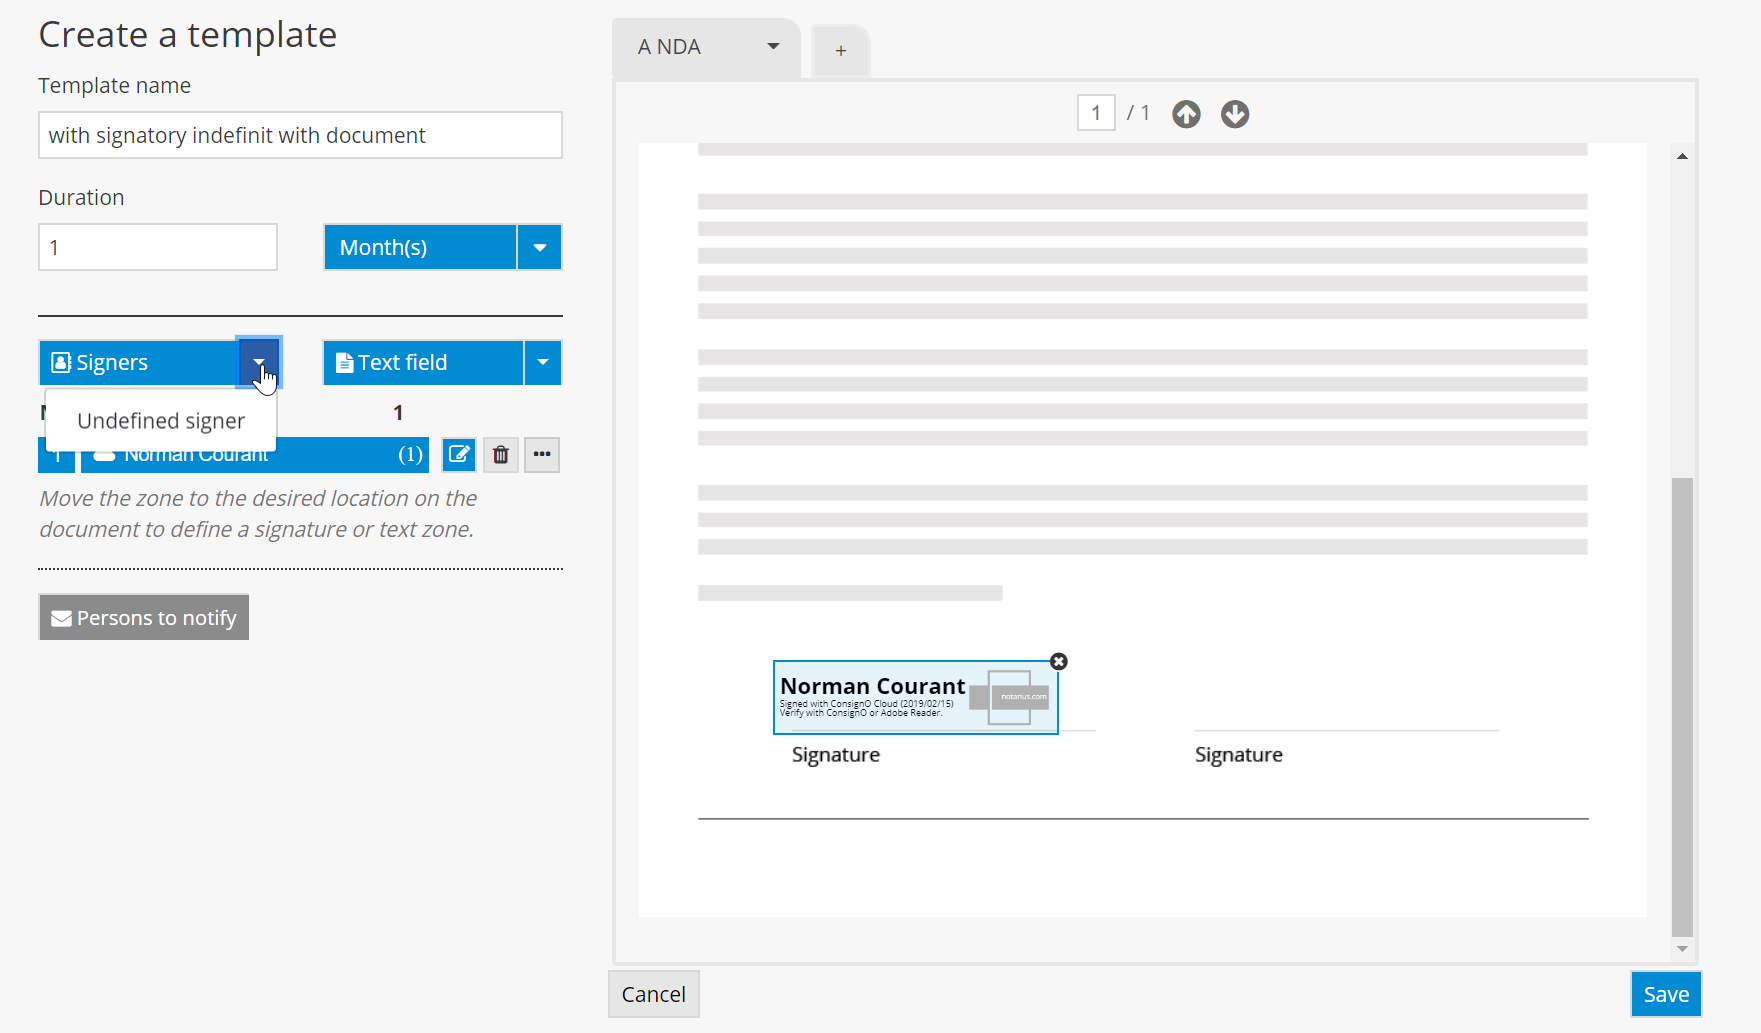
4. Complete the field, then click on Save.

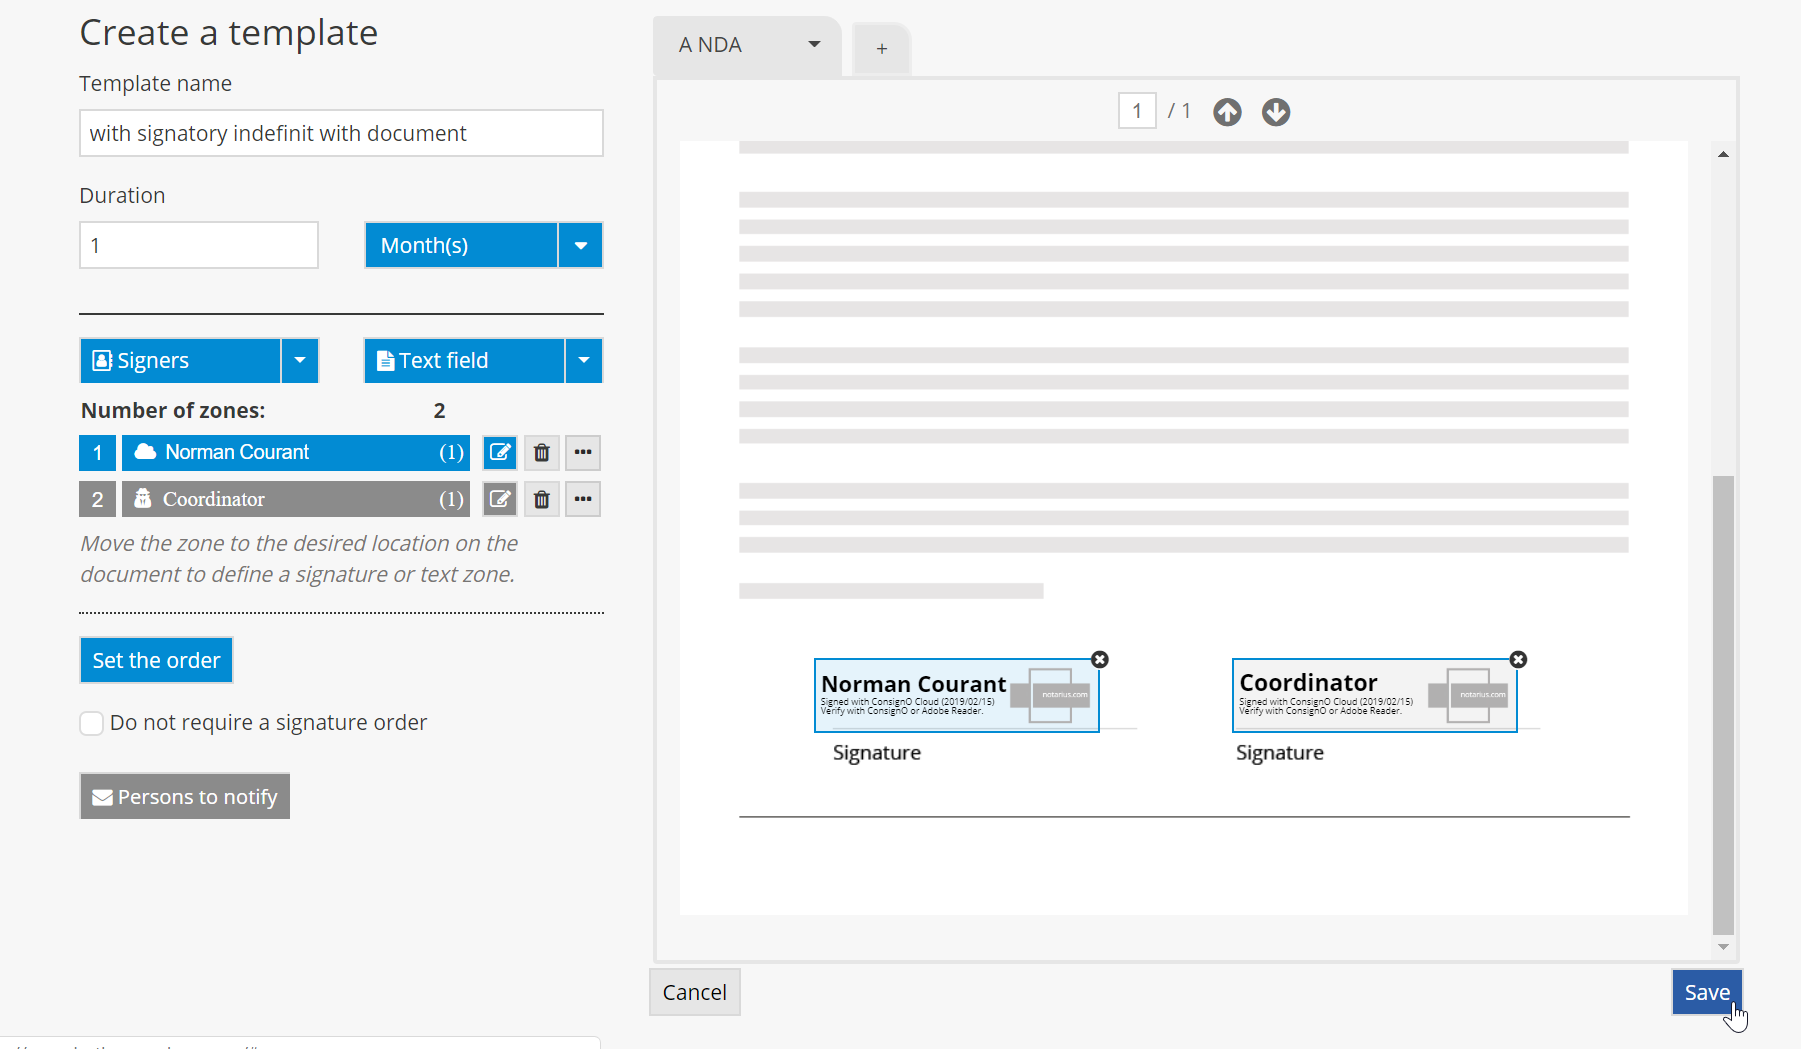
5. Once you’ve defined the signer, click on the person icon.
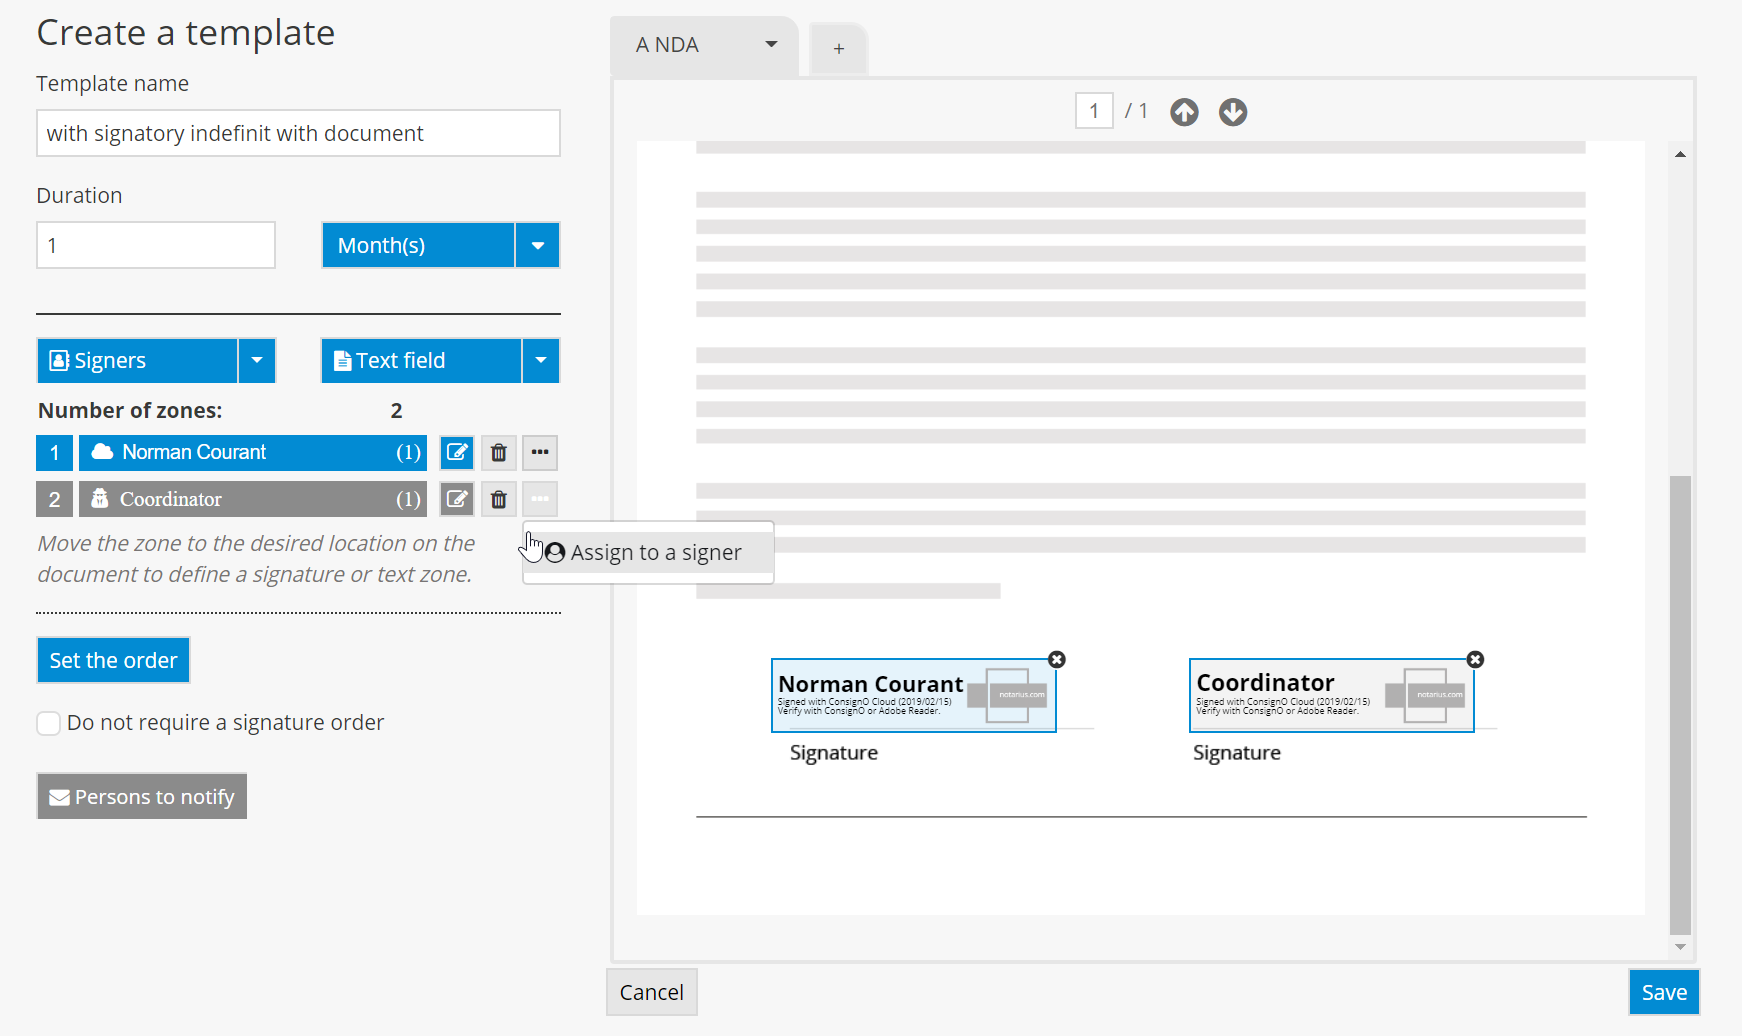
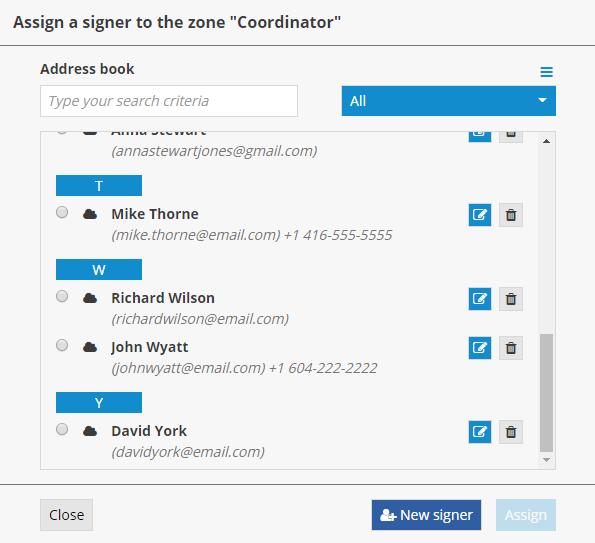
6. You can also assign a role to a contact in your address book (as in the example below) or to a new signer. Click on Assign to confirm.
MODIFYING A TEMPLATE
1. From the dashboard, click on the pencil icon.

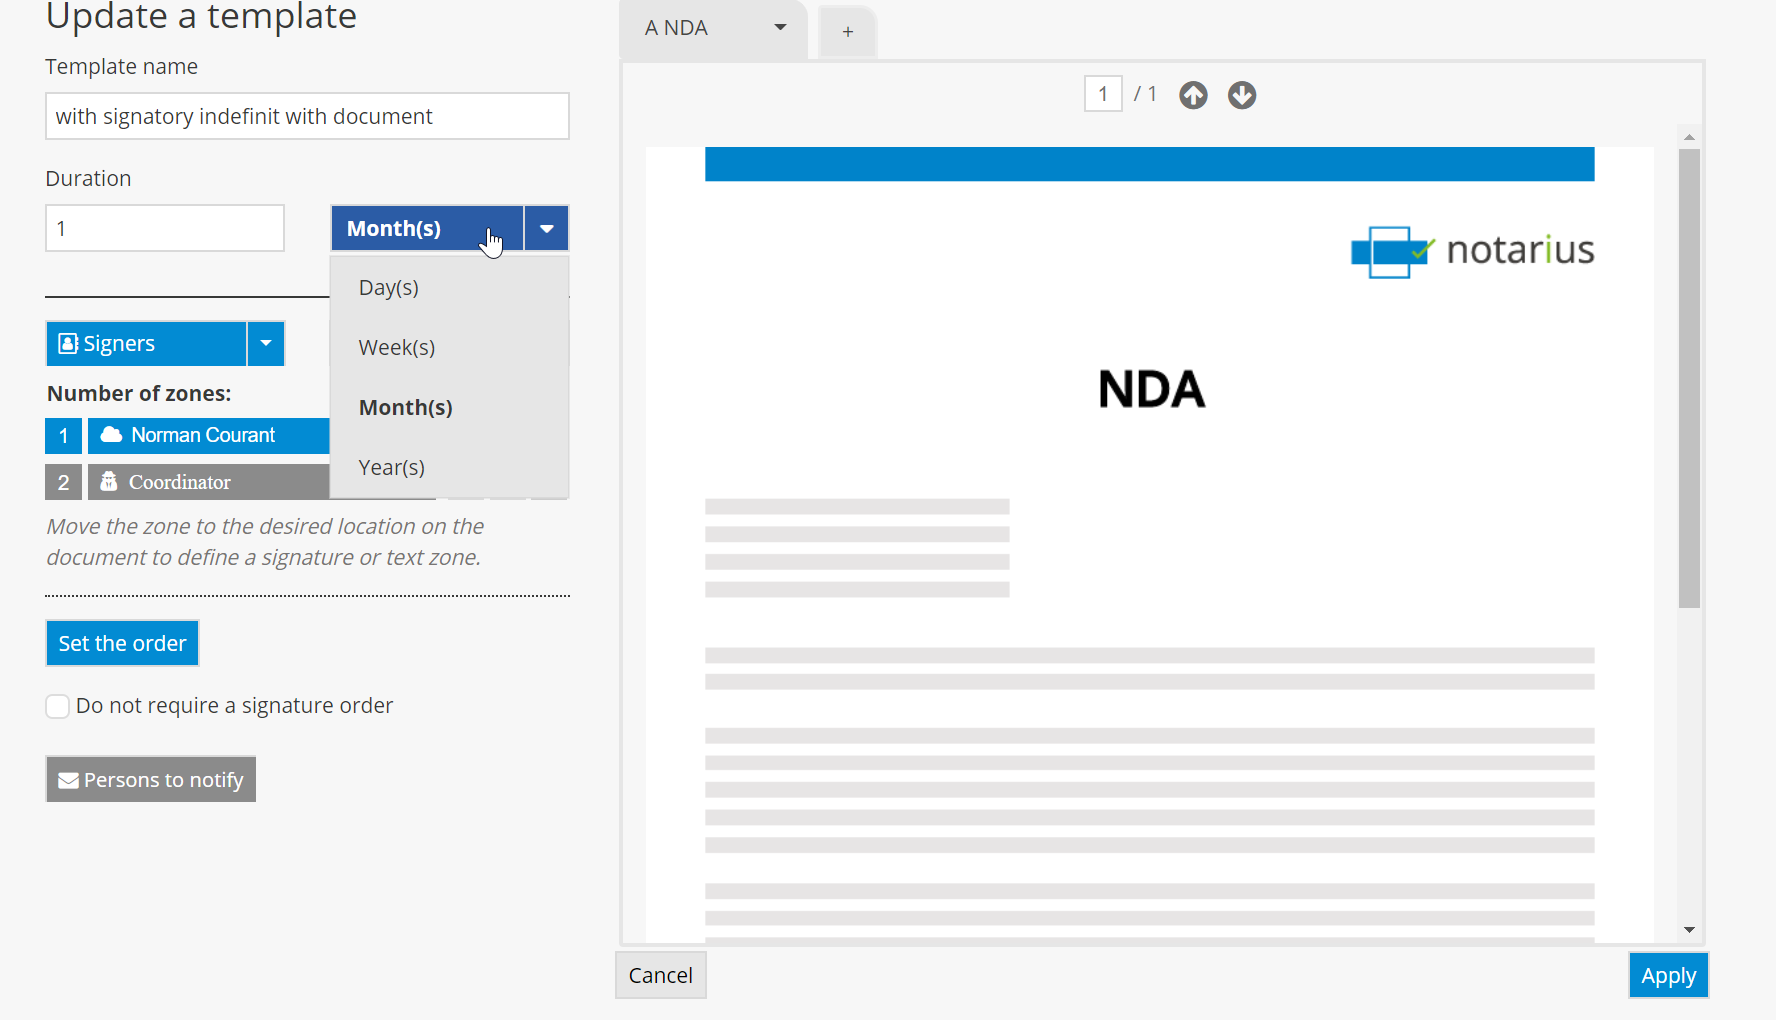
2. Make the necessary modifications. You can also modify the duration of projects that have not yet expired in the settings for the template used. To do so, click on the arrow for the Duration dropdown menu.
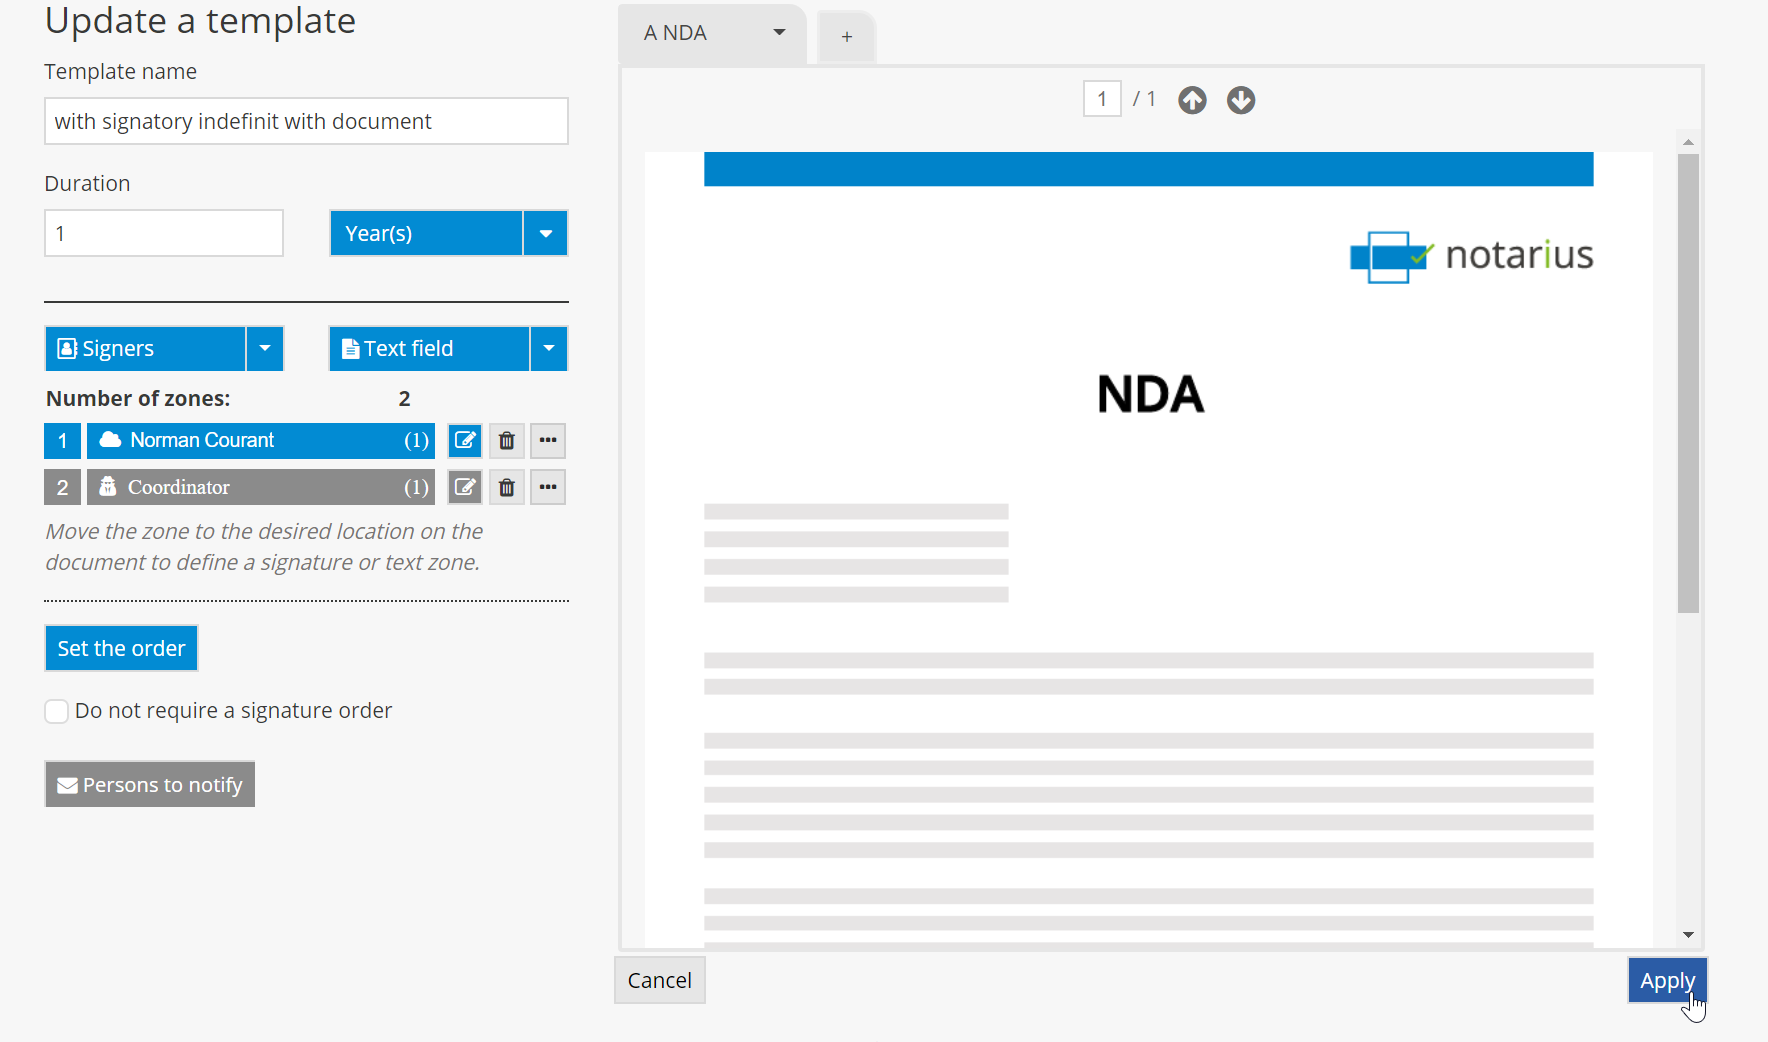
3. Once you’ve made the modifications, click on Apply.
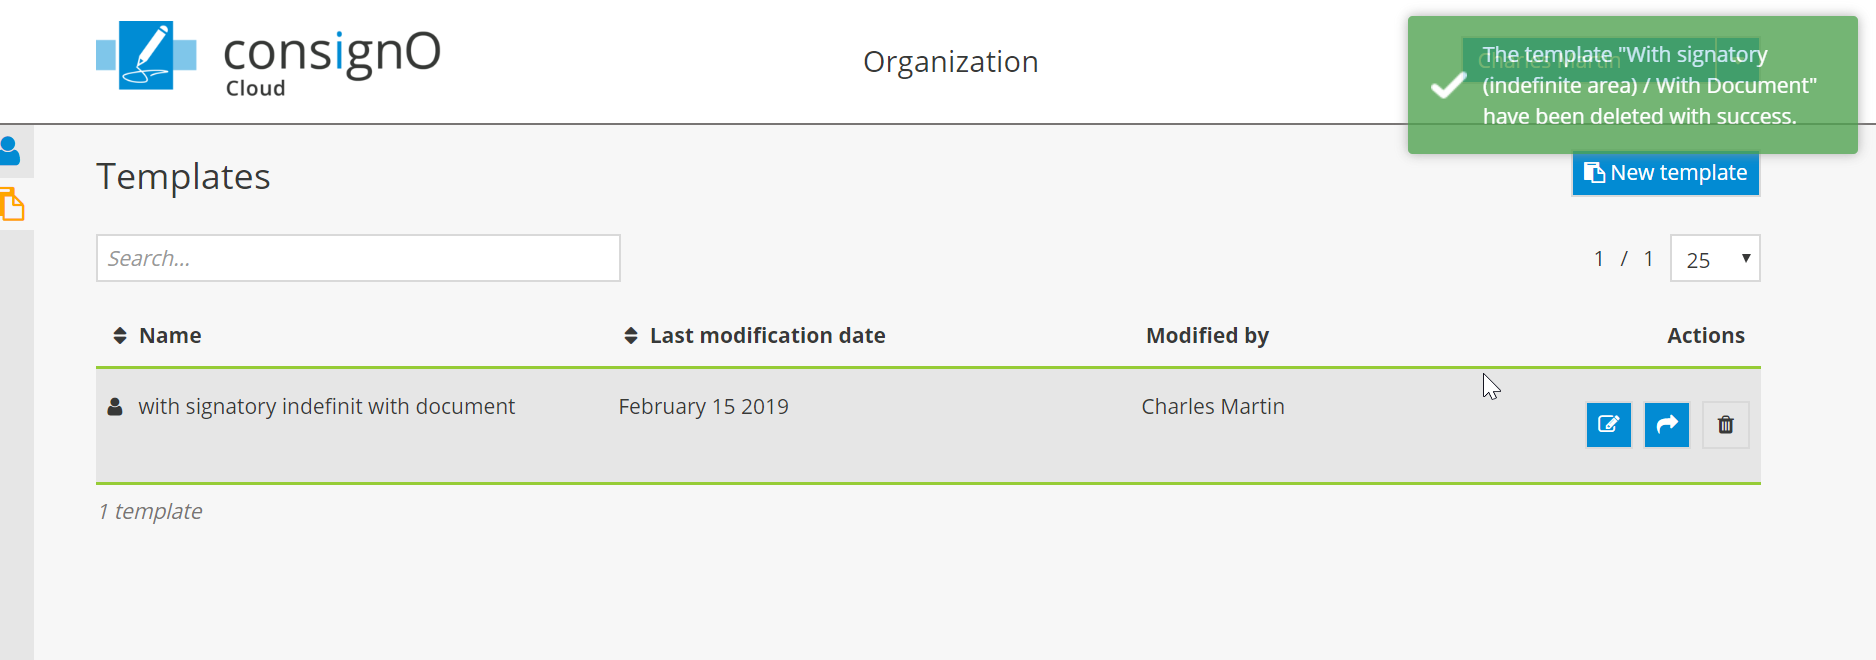
DELETING A TEMPLATE
1. From the dashboard, click on the trashcan icon.

2. Confirm the action by clicking on Delete.

