ConsignO Cloud User Guide
Creating groups and sharing projects
Available with: Business 5 & 20 plans Enterprise plan
Creating a group in ConsignO Cloud allows you to share projects, address books and project templates between multiple users, or simply group and manage signature projects. You can also manage the rights of users in a group (see Managing the rights of users in a group) according to the group’s project needs.
CREATING A GROUP
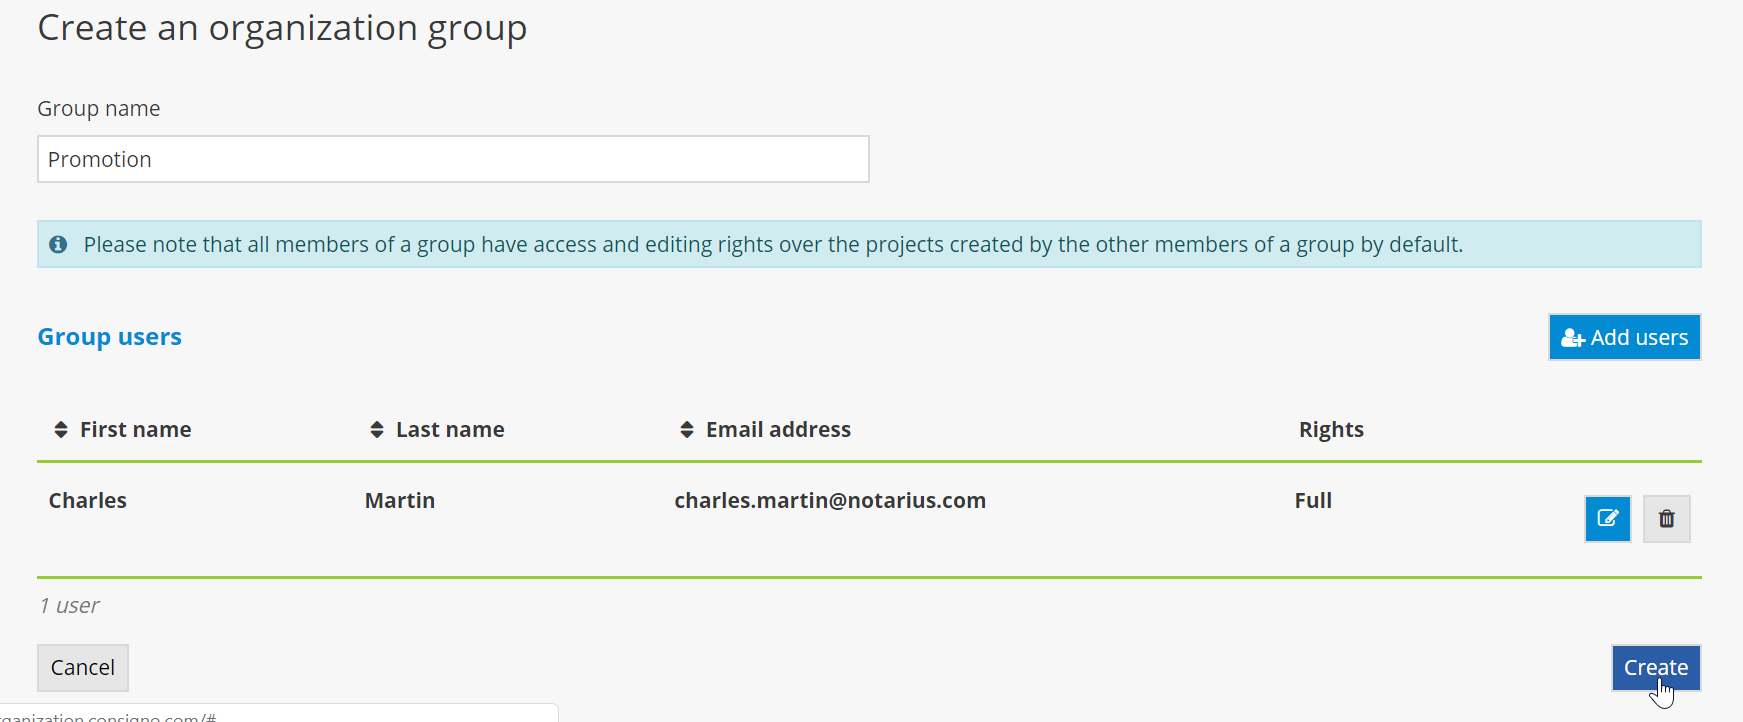
1. From the dashboard, click on the button New group.

2. Name the group, then add one or more of the organization’s users.
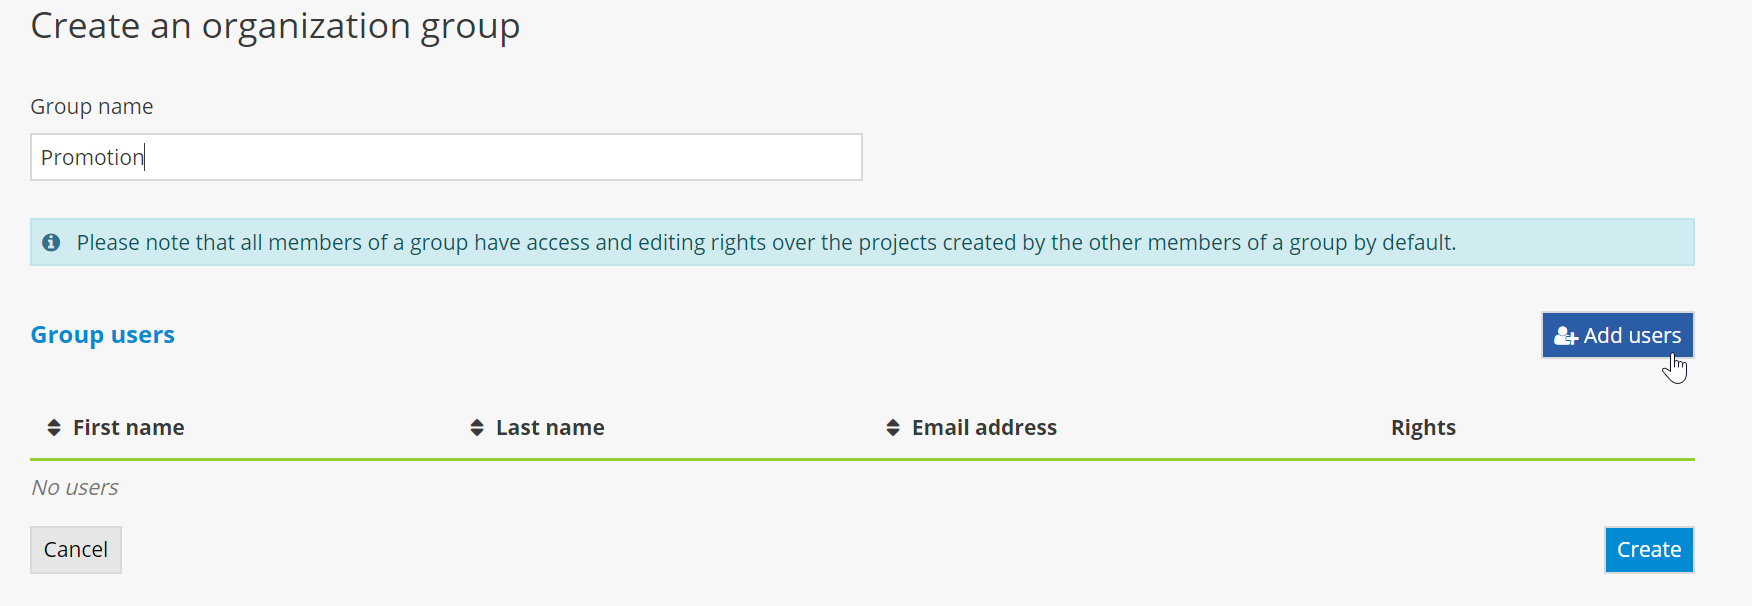
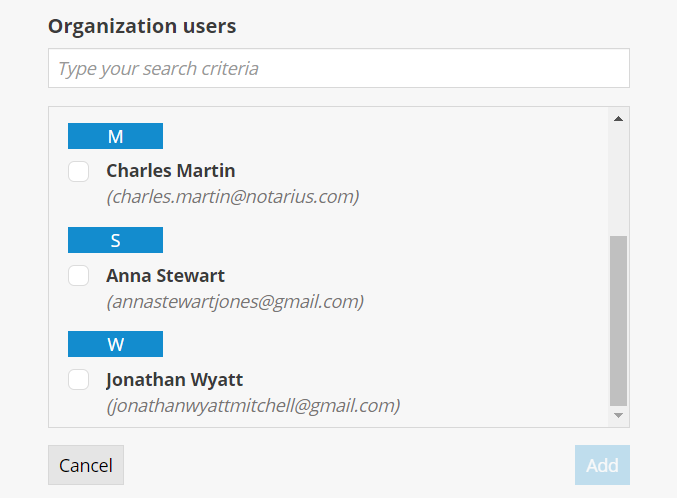
3. Click on the pencil icon to display the rights level page for the selected user.
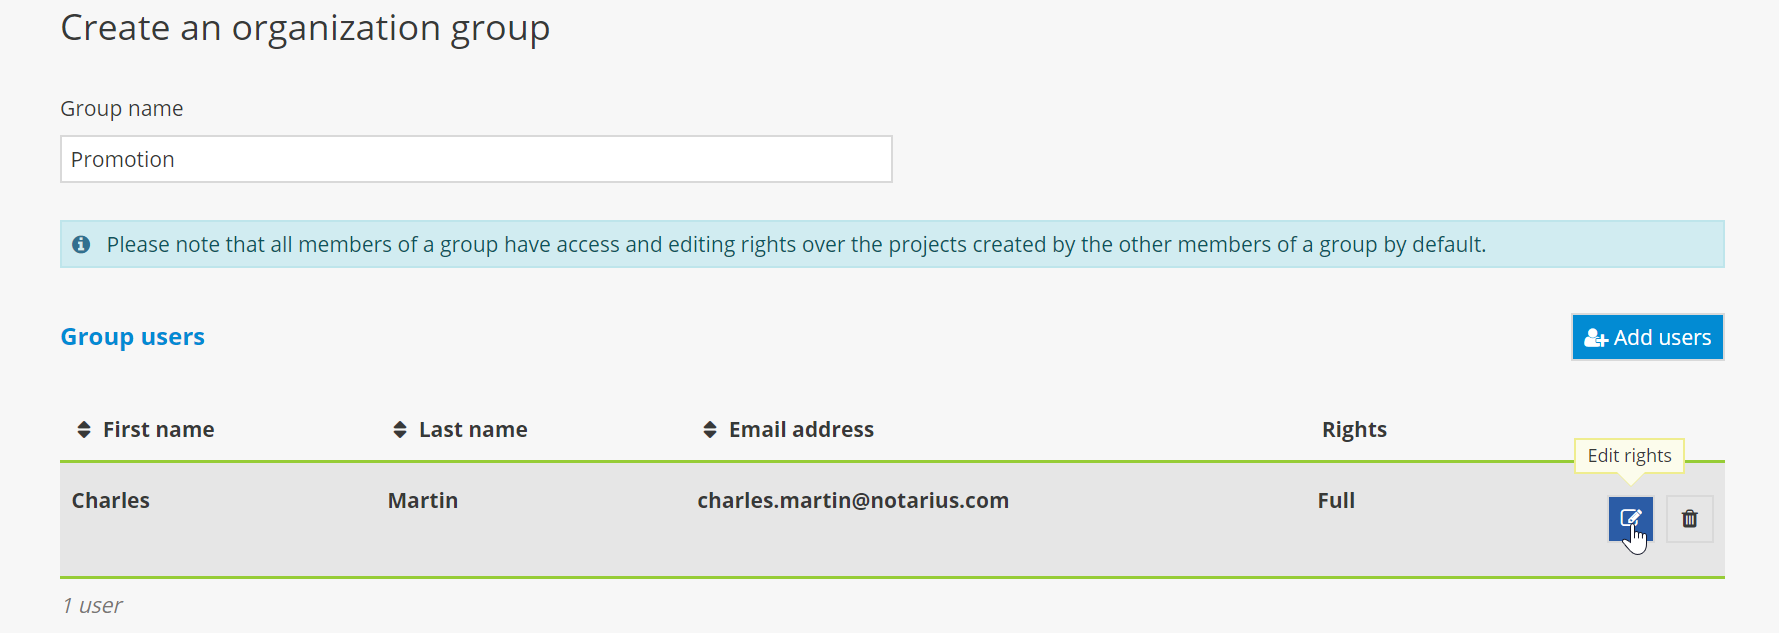
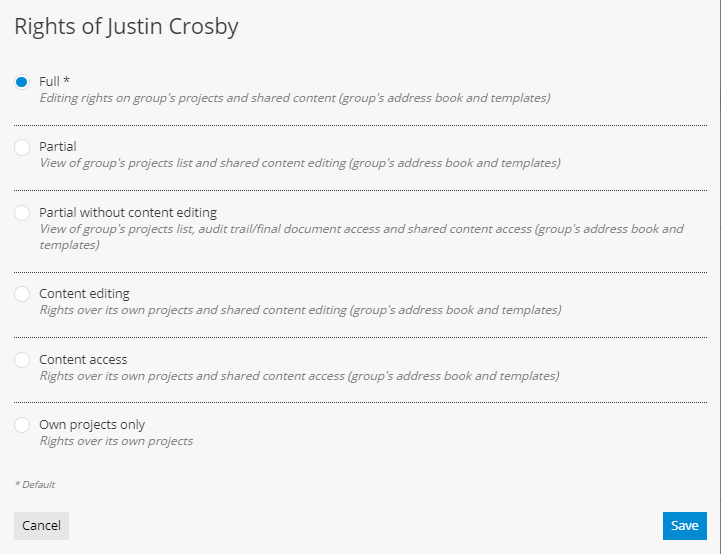
4. Select the rights level that you would like to assign to the user, then click on Save.
5. Click on Create to finish creating the group.
MODIFYING AN EXISTING GROUP
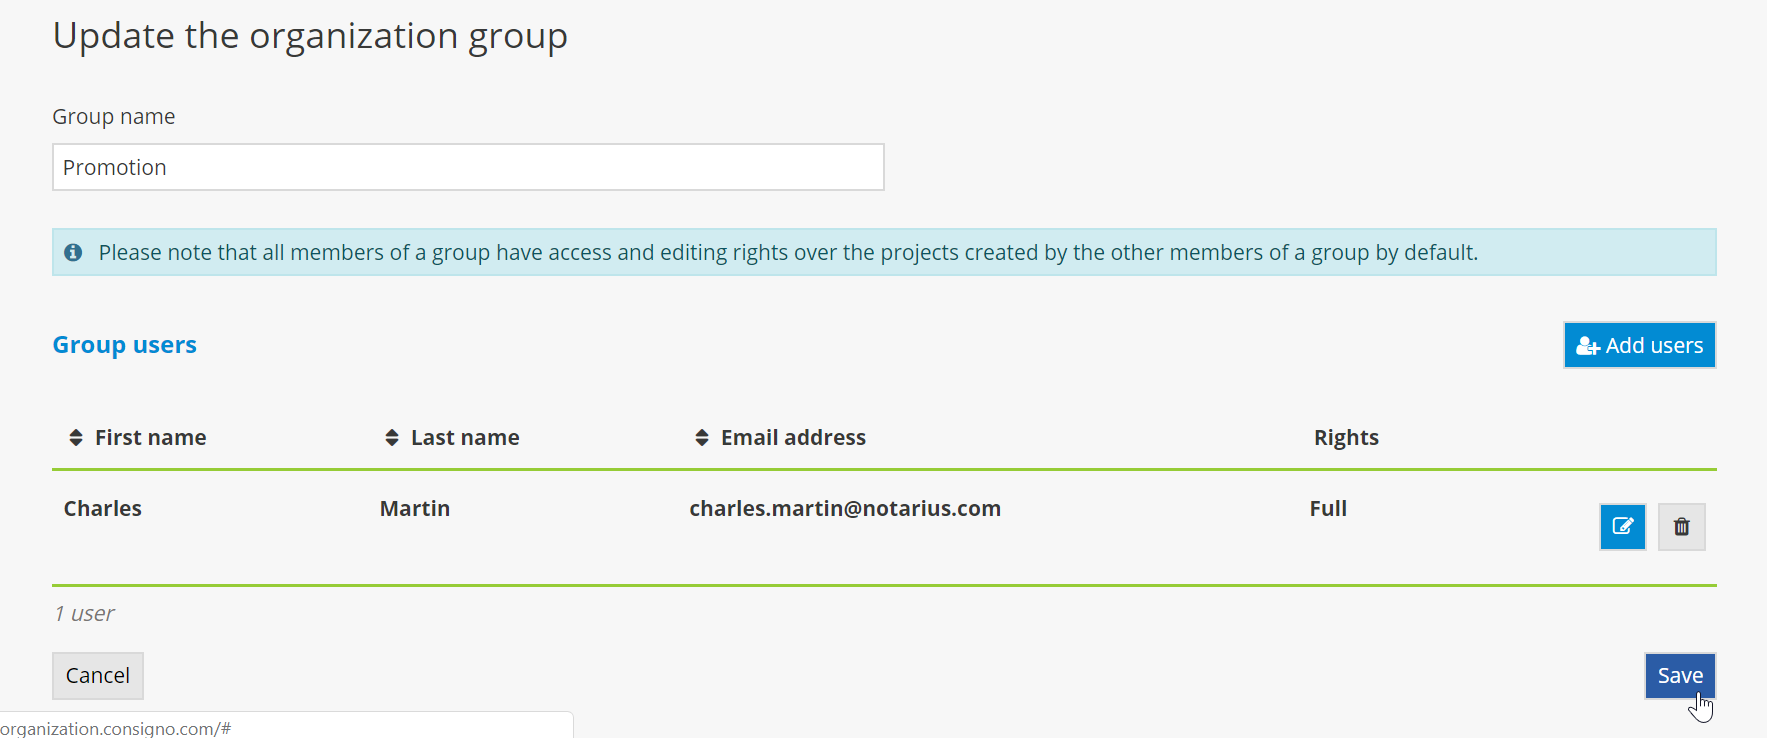
1. Click on the crayon icon to modify a group’s information.

2. Modify the group’s name or user information, then click on Save to apply the changes.
DELETING AN EXISTING GROUP
1. Click on the trashcan icon to delete a group.

ASSIGNING A PROJECT TO ANOTHER GROUP
1. To assign a project currently in progress to another group, click on the pencil icon.

2. Then click on the arrow to the right of the name of the current group and select the group to which you would like to assign the project.

3. Once you’ve selected the new group, click on Apply.

The project will no longer be displayed in the list of the former group’s projects.

4. The project will now be displayed in the new group’s project list. To display the new group’s projects, click on the arrow for the dropdown menu to select the group from the dashboard, then select the name of the new group.


